
There are many ways to deploy a Kubernetes Cluster, for example, kops, kubeadm, RKE, EKS and minikube. But all those deployment tools often involve tones of configuration files and can only be deployed via a command line interface.There is, in fact an easier way of deploying Kubernetes Cluster using a more GUI friendly tool called Rancher. Rancher is an open-sourced multi-cluster Kubernetes management software that provides a web interface in deploying and managing Kubernetes clusters.
Before we can start creating a Kubernetes Cluster, we first need to deploy Rancher. For demo purpose, we just need to create a single Rancher node. In production, however, it’s recommended to deploy at least 3 Rancher nodes to achieve High Availability (Yes, Rancher does support it).Login to Amazon EC2 and create a T3 medium Ubuntu 18.04 VM. Make sure you leave port 80 and 443 open so that we can access its web interface later. Install docker, and run the following command to install Rancher.
Rancher has build-in supports for Let’s Encrypt. We can point our domain to the Rancher VM and let Rancher request a Let’s Encrypt HTTPS Certificate for us.If you prefer using your own certificate, just remove the last line of the above command. (See Rancher Documentation for more installation configurations)
One Rancher is ready, we can then access Rancher’s web UI by accessing our domain. After setting up the admin password, we can go ahead and start deploying a Kubernetes cluster.
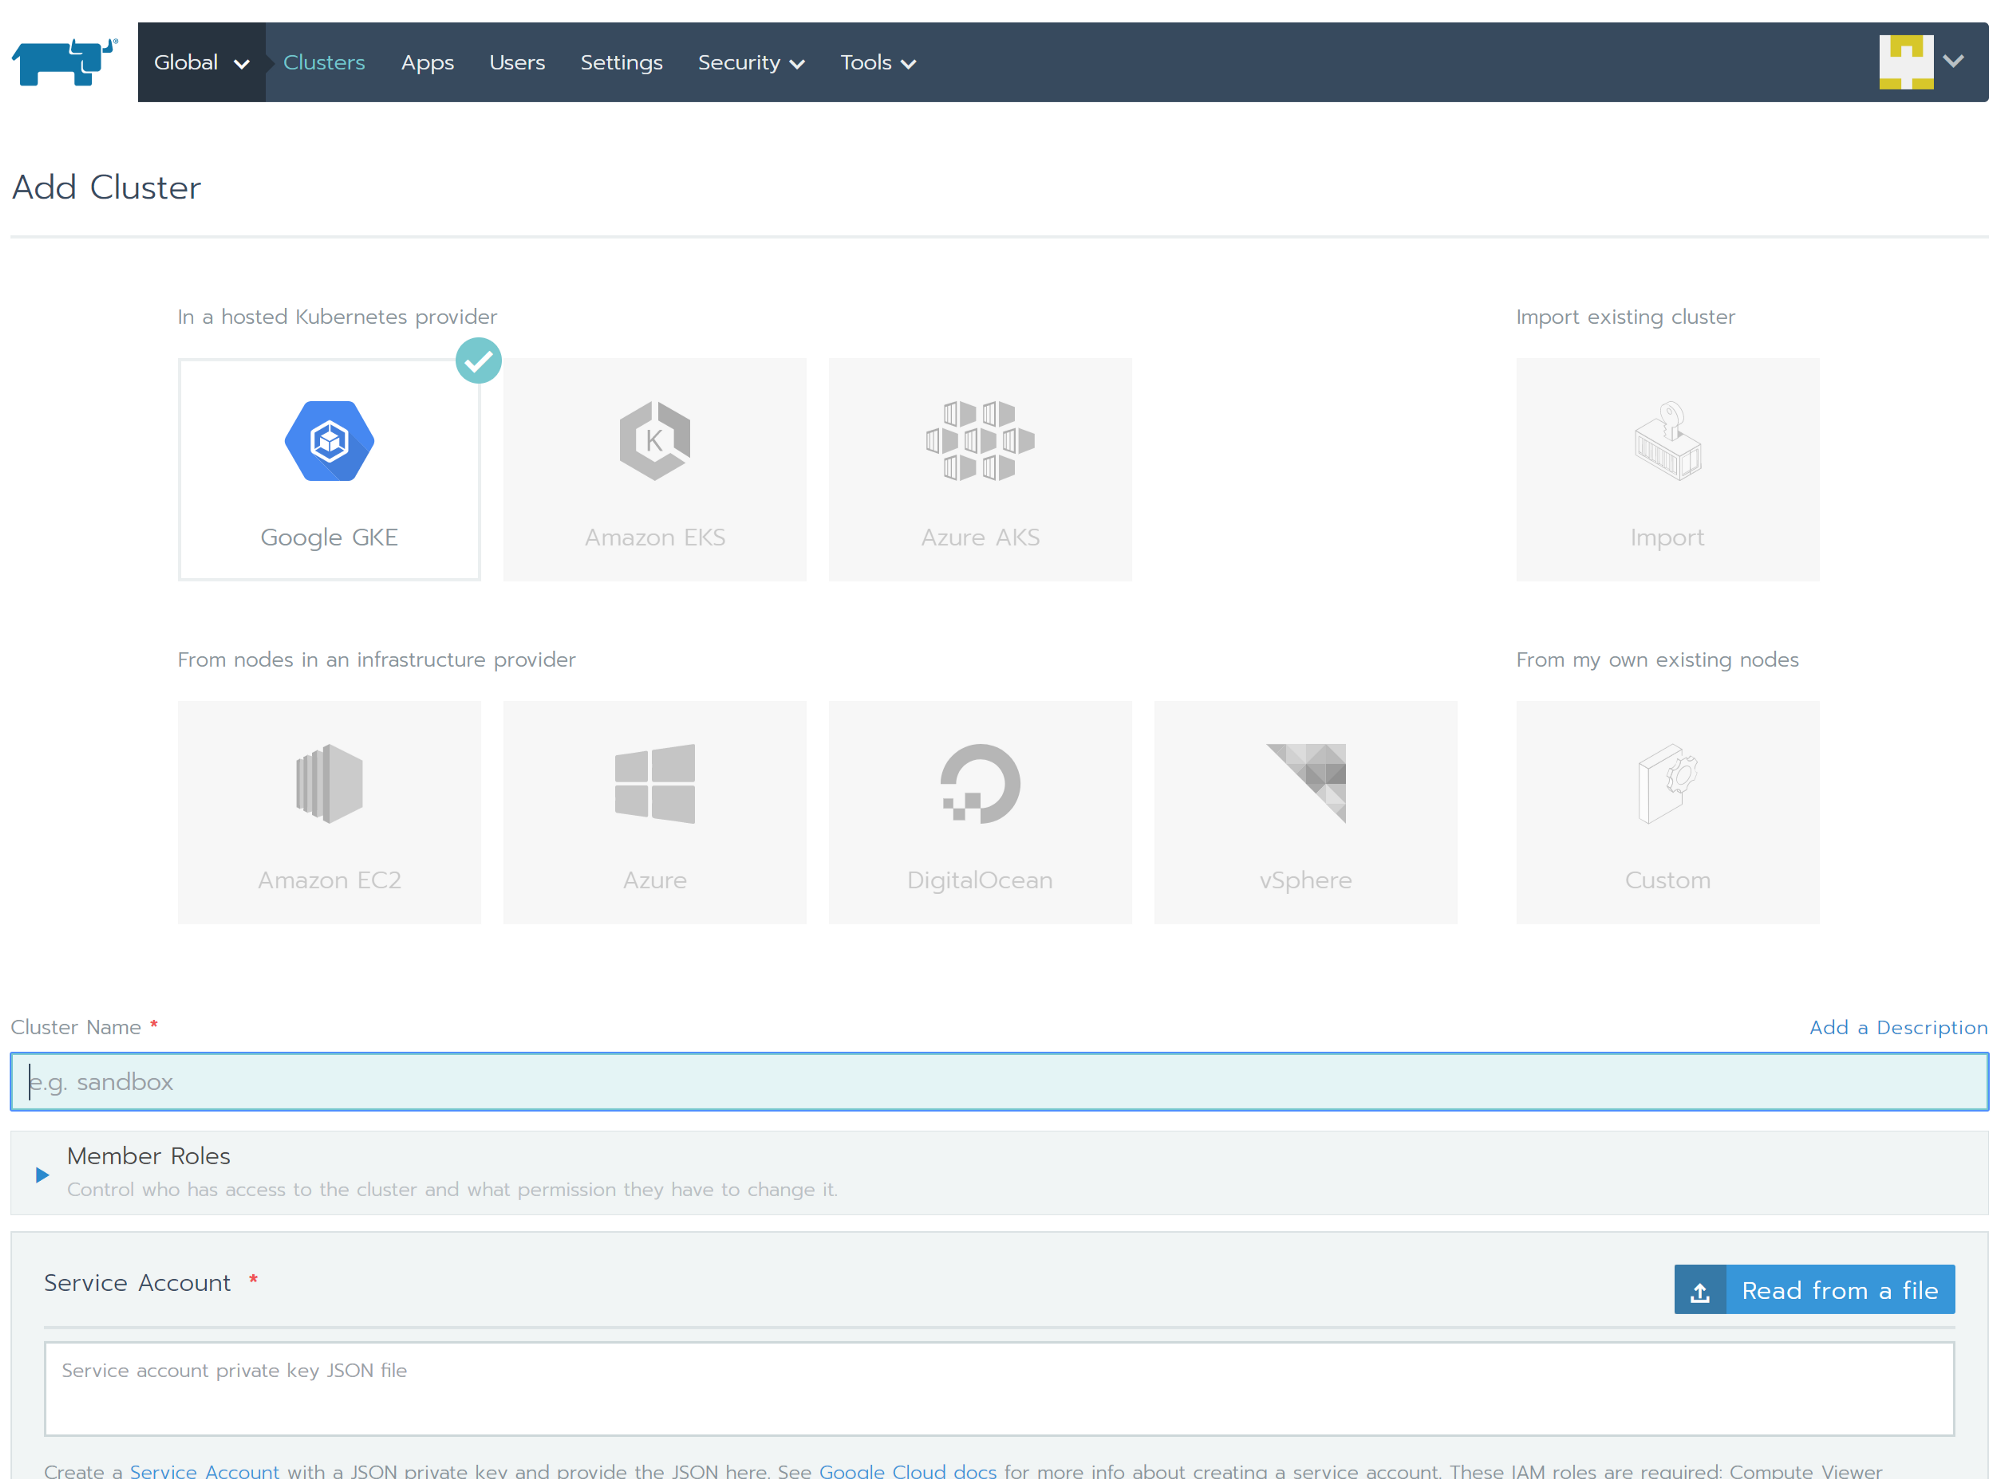
Rancher supports different providers, including Google GKE, Amazon EKS, Azure AKS, Amazon EC2 and DigitalOcean. We will be using Amazon EC2 for this demo.
Node template is the configuration of nodes that are used to provision the cluster. These templates use Docker Machine configuration options to define an operating system image and settings/parameters for the node. For example the availability zone, VPC and subnet that the node would be deployed to, its security group, instance type, disk size and IAM profile.
Node pool is a collection of nodes based on a node template. There are three node roles in Rancher, Etcd, Control Plane and Worker.For Etcd node role, in order to maintain the Etcd quorum, the number of nodes required is either 1, 3, or 5. As for Control Plane and Worker node roles, only 1 or more nodes is required.Each node pool could have one or more nodes roles assigned, meaning that we can actually create a single node Kubernetes Cluster for sandbox purpose. (Obviously, it is not recommended in production)
Cloud provider provides the interface between Kubernetes and AWS service APIs.Since we would want our Kubernetes cluster to register Amazon as the Cloud Provider (So that we can use ELB, attach EBS etc), we need to specify an IAM Instance Profile. In case you don’t have one, here’s an example policy: